We work through every interrogation using the PBL-STOP framework: Presenting rhythm, Battery, Lead impedance, Sensing, Threshold, Observations, Program & Print.
Device overview
A modern pacemaker has three jobs: sense the intrinsic rhythm, pace when that rhythm fails to meet programmed criteria, and store diagnostic data we can review. The PBL-STOP walkthrough below applies to every clinic check and most remote downloads — it just gets faster with repetition.
PBL-STOP walkthrough
P — Presenting Rhythm
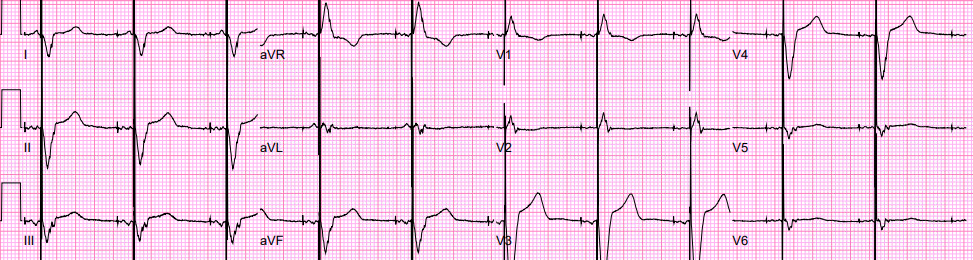
What is the patient in right now, on the live strip the moment the wand goes on?
- Intrinsic vs paced — atrial and ventricular separately
- Snapshot percentages: %A-paced, %V-paced for this session
- Baseline rate, AV relationship, any fusion or pseudo-fusion beats
- Far-field activity on the EGM that might confuse downstream algorithms
- Comparison with the most recent 12-lead and prior interrogation summary
This is where you decide whether the patient sitting in front of you matches the device’s job description — a 100% V-paced complete heart-block patient should look 100% V-paced; a sinus node dysfunction patient with intact AV conduction should not.
B — Battery Status
- Voltage compared against the model-specific RRT/ERI cutoff
- Percent remaining and projected months of service
- Status indicator: BOL, MOL, ERI/RRT, EOL/EOS
- Trend across the last 2–3 visits — is depletion accelerating?
- Drivers of accelerated drain to call out:
- High RV pacing burden (>40%) with high outputs
- Elevated capture thresholds across leads
- Chronic high-rate atrial pacing or aggressive rate response
Flag any device within 6 months of RRT for generator-change planning.
L — Lead Impedance
One number per lead, read with the trend graph open.
- Pacing impedance: expected 400–1200 ohms
- Sudden drop (<250 ohms): insulation breach or short
- Sudden rise (>1500 ohms or open circuit): conductor fracture
- Gradual rise with rising threshold: microdislodgement or exit block
- Gradual rise alone: lead maturation, usually benign
- Stable-but-abnormal is less alarming than stable-then-swung
- Document the delta from the last visit, not just today’s number
S — Sensing
Per-lead amplitudes with the sensitivity setting in mind.
- P-wave amplitude: typically >1.5 mV; sensing margin = amplitude ÷ programmed sensitivity, target ≥2×
- R-wave amplitude: typically >5 mV; same margin rule
- Drop >50% from baseline warrants attention even if the absolute number still looks acceptable
- Screen for undersensing (missed P or R triggering inappropriate pacing) and oversensing (T-wave, far-field R, myopotentials, EMI triggering inhibition or mode switch)
- Tighten or loosen sensitivity to restore margin without crossing into oversensing
T — Threshold
Capture threshold testing per lead.
- Pulse-width vs amplitude strength-duration relationship — most clinics test at 0.5 ms
- Atrial typical 0.5–1.5 V at 0.5 ms; ventricular typical 0.5–1.0 V
- Confirm the auto-capture algorithm result against a manual beat-by-beat test when:
- Auto-threshold trends are climbing
- Patient is pacing-dependent
- Battery is at RRT and outputs are being tightened
- A new lead is in its first three months
- Program output at 2× threshold (safety margin), narrower for chronic stable leads on devices nearing RRT
O — Observations
Counters, histograms, and stored episodes — the device’s diary since the last visit.
- %V pacing and %A pacing since last reset
- Rate histograms — sinus distribution, paced-rate spread
- AHRE / AT / AF burden: episode count, total duration, longest episode, fastest atrial rate
-
6 minutes triggers an anticoagulation conversation
-
24 hours moves that conversation to the top of the visit
-
- Mode-switch behavior — appropriate switches vs far-field oversensing artifacts
- Patient-activated events with surrounding EGM
- Noise-reversion episodes (lead fracture or EMI clue)
- Any device alerts since the last in-person or remote check
Always pull the EGM on anything atypical — the auto-classification is a starting point, not a verdict.
P — Program & Print
Close the loop.
- Programming changes: mode, lower/upper rate, AV delay, AV search / MVP, rate response, sensitivity, mode-switch criteria, output adjustments
- Re-interrogate after the change and confirm behavior on a live strip
- Reset counters per institutional policy
- Save and print the summary report to the chart and patient portal
- Set the next remote transmission window and next in-office visit
- Escalate to the EP attending for:
Red-flag findings
- Impedance change >200 ohms from baseline
- Capture threshold rise >1 V from baseline
- P-wave or R-wave amplitude drop >50%
- Battery at ERI/RRT — generator change within 90 days
- AHRE >6 minutes without anticoagulation
- 100% V-paced when intrinsic conduction was expected
- Frequent noise reversion episodes
Reference
Framework reference: “Keeping the Pace using PBL-STOP” — Chart Healthcare Academy